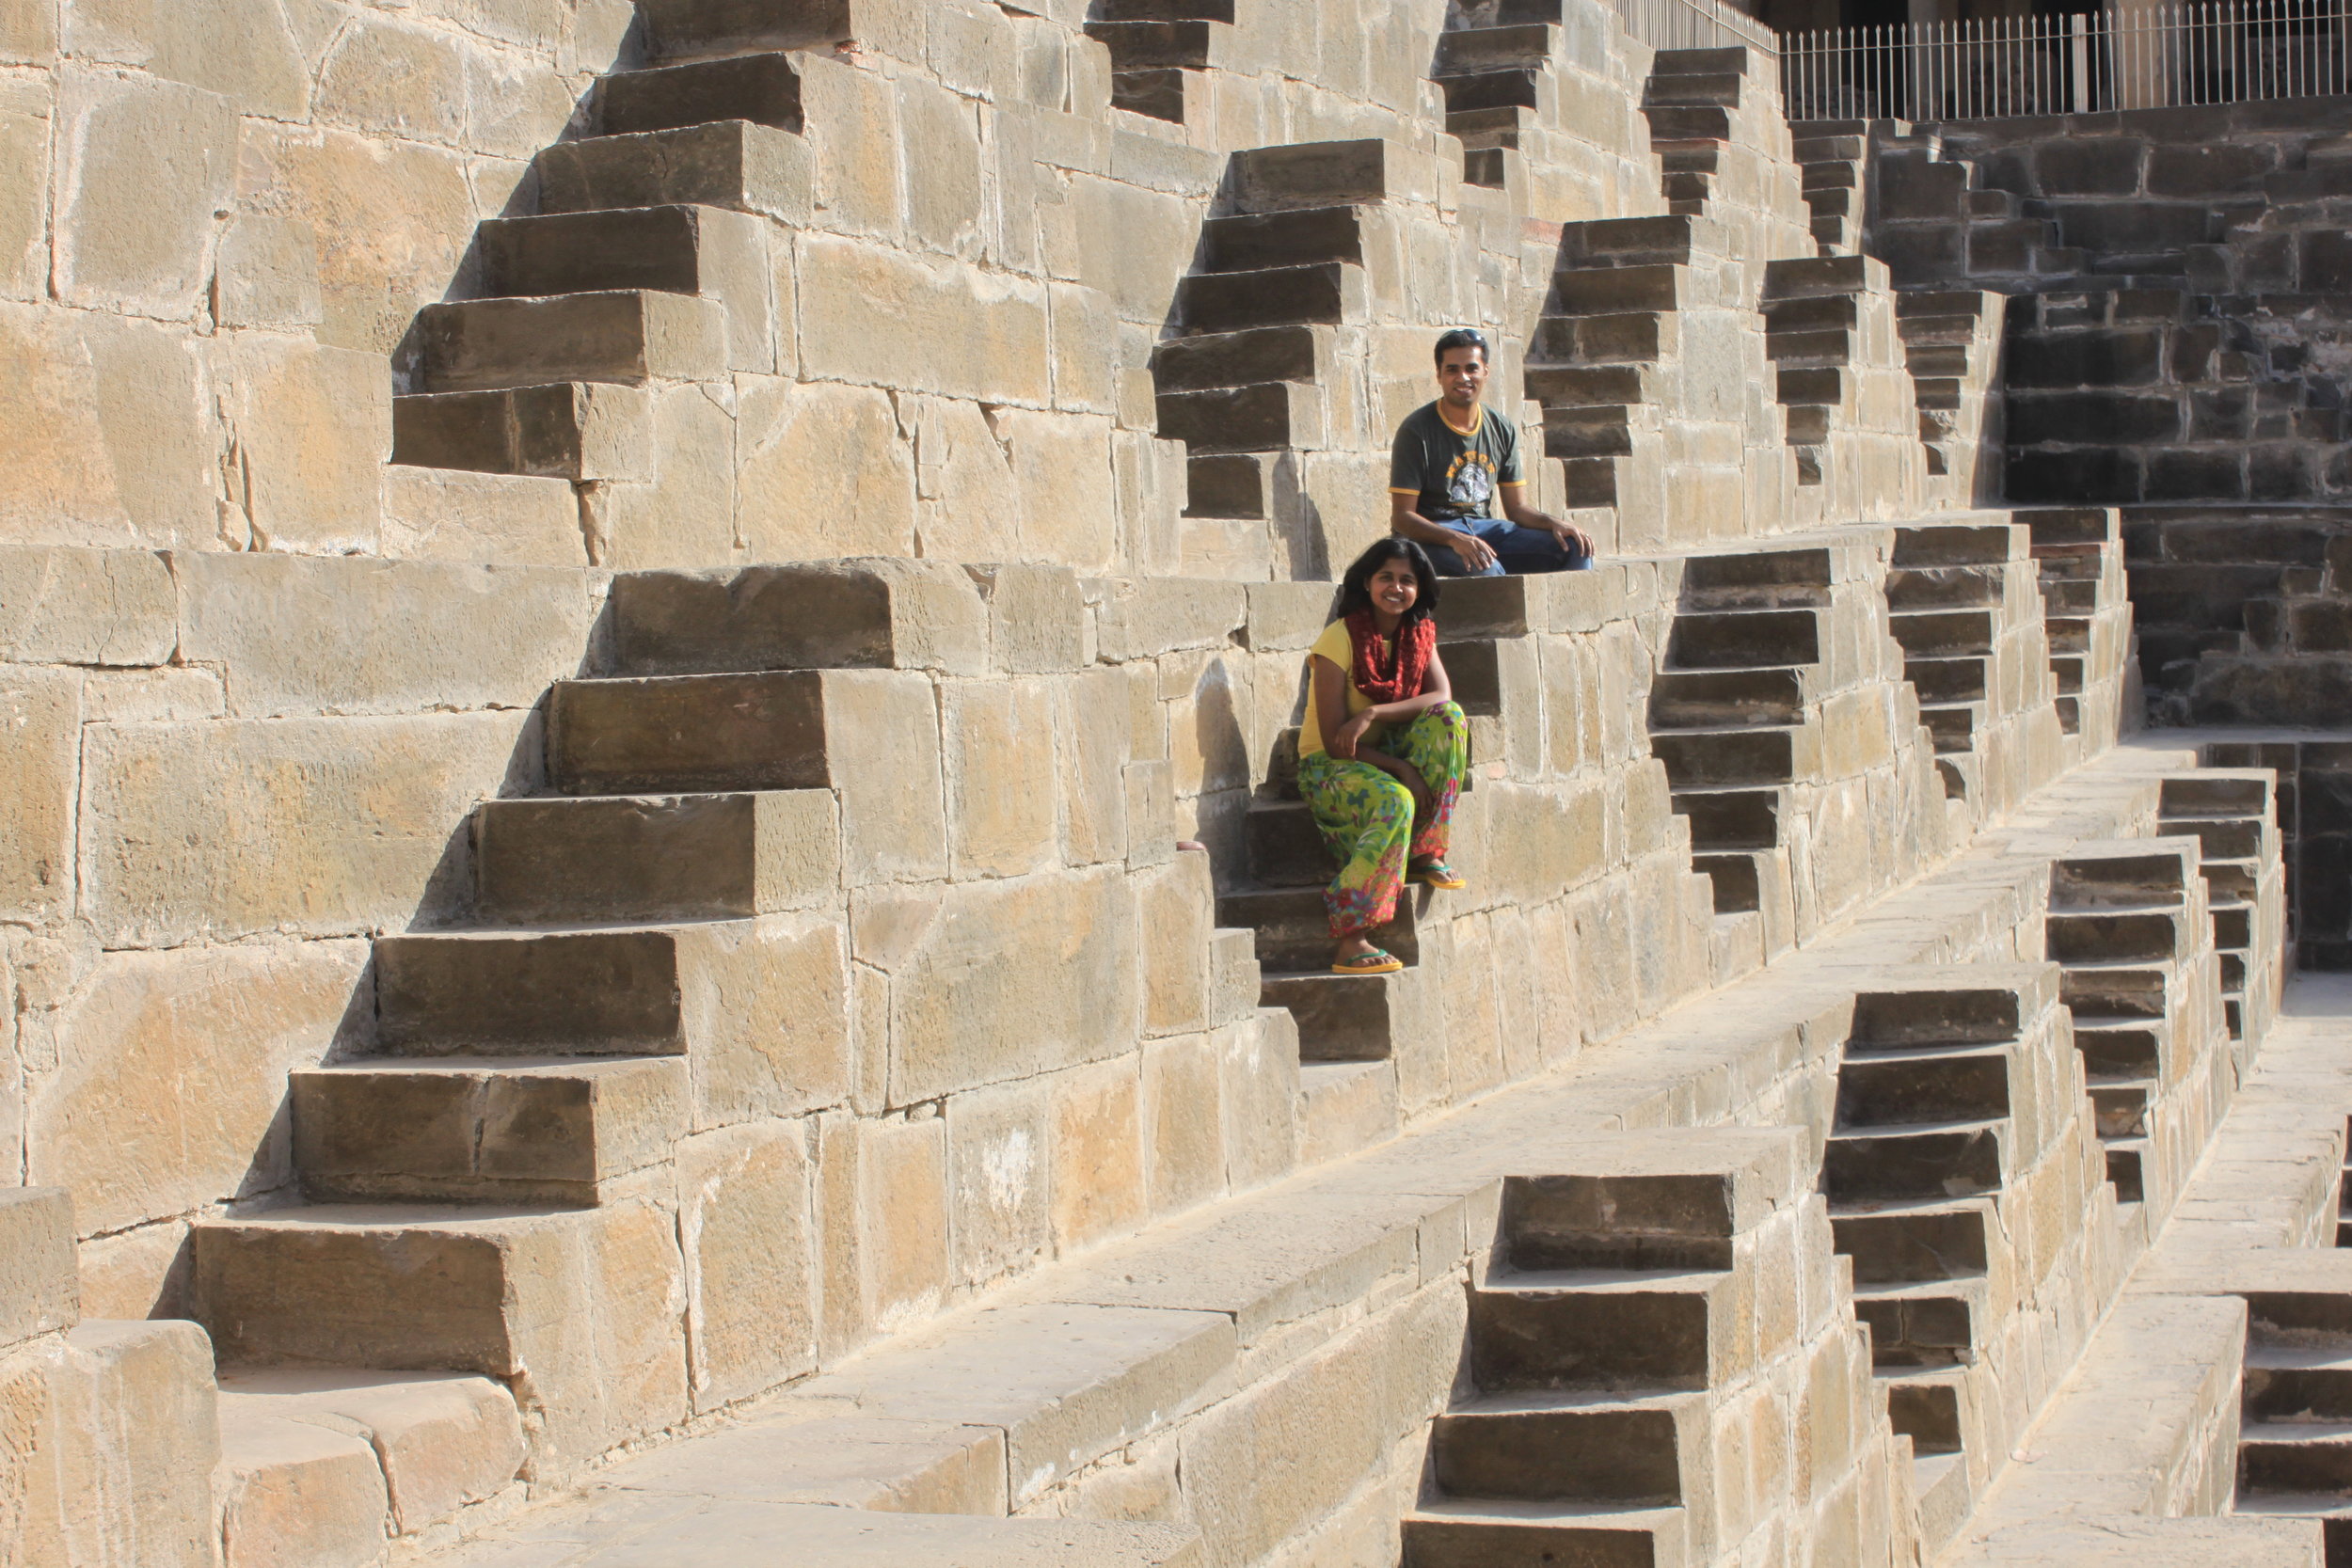
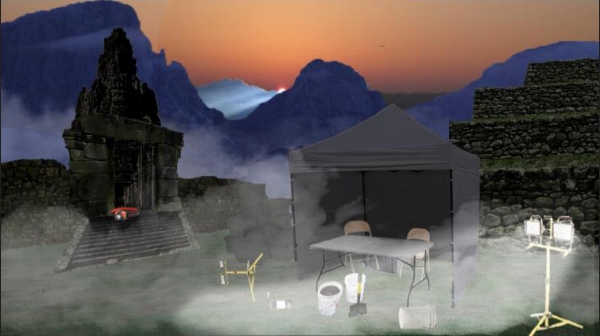
These are my most up to date steps and circular wall, being shown in the scene instead of the light rig. This time around I added a lot of large scale color variation to the stone texture. I tried being more logical with where the light and dark spots are, having indentations being darker and protruding spots lighter. For the growing moss/lichen, I added a lot more of this as well, covering a good portion of the steps as a whole. There were two different kinds of lichen I was going for; the the more solid, pale areas and the bright green, more splotchy areas representing thicker moss. The pale green areas are lichen that grows quite thin and close to the rock, and I wanted that to be layered underneath the heavier, thicker moss that grows on top. I also tried being more logical with how this is placed as well, having more concentrated areas growing along the bottom and along the seams and corners where blocks would meet, rather than just on exposed faces. Some patches connect with each other, or come close, creating larger areas of lichen instead of having a bunch of small, isolated areas.
These same methods are applied to the circular wall behind the steps, although I think the stone texture is a little too low-res, so this should be addressed in the coming days. After painting the textures, I brought them into Photoshop and adjusted the brightness/contrast and the levels to help bump the contrast because they were coming across very flat in the scene.
Dave and Megan seemed to like the new textures for these assets. They said the lichen and moss are working well and it really gives the sense that it is growing on top rather than just painted on. So they next step is to paint the other set of stairs so we have at least two different sets, because right now I only have one and they are duplicated around the scene. So I will also be addressing this in the coming days.


